
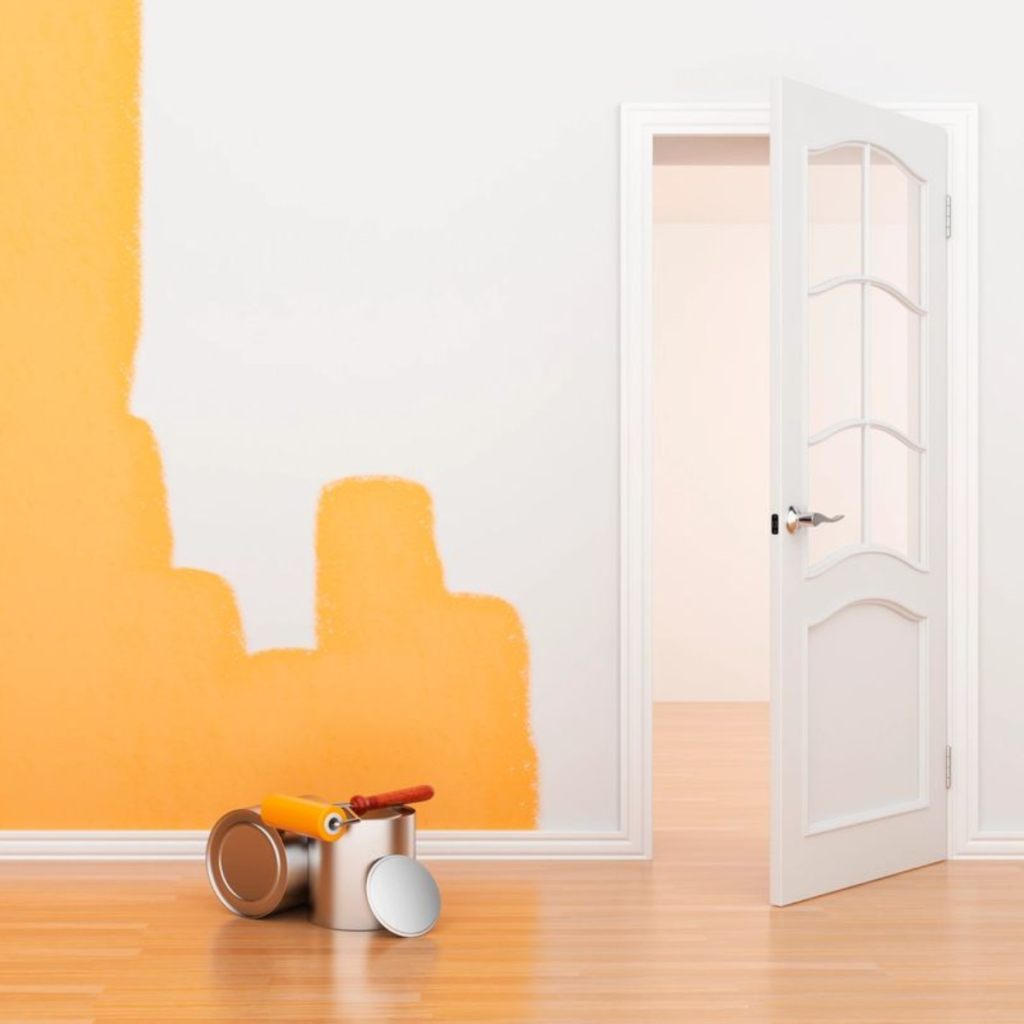
Prepare Walls the Right Way for Interior Painting: Our Guide
At Brennan Heikes Professional Painting LLC, we know that a successful paint job begins with proper wall surface preparation. Achieving a smooth, lasting finish requires understanding how to prepare walls for interior painting. Our team, with over 35 years of experience in Minneapolis, MN, is here to guide you. We’re committed to helping you achieve a professional finish with our painting prep tips.
Wall surface preparation is the cornerstone of a great paint job, according to Brennan Heikes Professional Painting LLC. We’re sharing our expertise on preparing walls for interior painting. Our guide includes the best painting prep tips for a flawless finish. Follow our steps to transform your space with a beautiful, long-lasting paint job that showcases your personal style.
Understanding Why Wall Preparation Makes or Breaks Your Paint Job
At Brennan Heikes Professional Painting LLC, we stress the significance of prepping walls before painting for a professional finish. Proper wall preparation is key for a successful paint job. It ensures a smooth, even, and lasting paint application. Wall priming for painting is a critical step that should not be overlooked in the interior wall painting process.
Common wall problems, such as cracks, holes, and uneven surfaces, can greatly impact paint application and longevity. To tackle these issues, it’s vital to follow the correct interior wall painting steps, including prepping walls before painting. This involves cleaning, repairing, and sanding the surface to prepare it for painting. Our team at Brennan Heikes Professional Painting LLC has the expertise to handle various wall preparation tasks, ensuring your walls are ready for a professional finish.
Common Wall Problems That Affect Paint Application
- Cracks and holes that can lead to paint peeling and flaking
- Uneven surfaces that can result in an uneven paint finish
- Stains and discoloration that can affect paint color and consistency
The Impact of Proper Preparation on Paint Longevity
Proper wall preparation can greatly extend your paint job’s lifespan. By following the right interior wall painting steps, including wall priming for painting, you ensure a strong bond between the paint and the wall. This reduces the risk of peeling and flaking. Such preparation can save you time and money in the long run, as you won’t need to repaint as often.
Essential Tools and Materials for Wall Preparation
At Brennan Heikes Professional Painting LLC, we know the value of the right tools and materials for wall preparation. When preparing walls for painting, having a well-stocked toolkit is crucial. This includes sandpaper, primer, and paint, essential for a smooth finish.
To get your walls ready for paint, you’ll need specific materials. Here are some key items we recommend:
- Sandpaper: for smoothing out rough surfaces
- Primer: for creating a strong bond between the wall and paint
- Paint: for adding the final coat of color to your walls
- Caulk: for filling in gaps and cracks
- Masking tape: for protecting trim and edges
Our team at Brennan Heikes Professional Painting LLC is committed to helping you prepare your walls for painting. We use only the highest-quality tools and materials. This ensures your walls are perfectly prepared for a professional finish. By investing in the right tools and materials, you’ll achieve a smooth, even finish that will last for years. Whether you’re preparing walls for fresh paint or touching up areas, we’re here to help you get it right.
How to Prepare Walls for Painting Interior: Step-by-Step Process
At Brennan Heikes Professional Painting LLC, we grasp the significance of thorough surface preparation for interior painting. Achieving a professional finish necessitates adherence to a step-by-step process. Our team will lead you through the critical steps to prepare your walls for painting, guaranteeing a smooth and enduring finish.
Initiating the process of preparing walls for interior painting begins with a clean slate. This entails cleaning and degreasing surfaces to eliminate dirt, grime, and grease. Subsequently, we address repairing holes and cracks, a fundamental step in surface preparation for interior painting.
Cleaning and Degreasing Surfaces
- Use a mild detergent and water to clean the walls
- Remove any grease or grime using a degreaser
- Rinse the walls thoroughly with clean water
Repairing Holes and Cracks
This step is crucial for a smooth finish. We’ll offer guidance on repairing holes and cracks, including the application of spackling compound and sanding techniques.
By adhering to these steps and recognizing the importance of surface preparation for interior painting, you’ll attain a professional finish that endures for years. Our team at Brennan Heikes Professional Painting LLC is dedicated to offering expert advice and guidance on preparing walls for painting interior. This ensures your walls are impeccably prepared for a stunning and lasting paint job.
Professional Tips for Dealing with Different Wall Surfaces
At Brennan Heikes Professional Painting LLC, we recognize that each wall surface is distinct. It demands tailored preparation for a flawless finish. Our team excels in handling various surfaces, including drywall, plaster, and textured ones.
Preparing different wall surfaces requires a deep understanding of their specific needs. Drywall needs holes and cracks filled, while plaster walls require gentle handling to prevent damage. Textured surfaces, in turn, need extra care for a uniform finish.
Drywall Preparation Specifics
Drywall preparation is a vital step in the painting process. It involves filling holes and cracks, sanding the surface, and sometimes applying a primer. Our team at Brennan Heikes Professional Painting LLC employs specialized techniques and materials for drywall preparation.
Working with Plaster Walls
Plaster walls need a delicate touch during preparation. Our team uses specific tools and materials to fix cracks and holes. We also apply a primer to ensure a strong bond between the plaster and paint. These steps guarantee a stunning and durable finish.
Handling Textured Surfaces
Textured surfaces present a challenge, but our team at Brennan Heikes Professional Painting LLC is up to the task. We employ unique techniques and materials to prepare these surfaces for painting. This approach ensures a finish that meets our high standards, regardless of the surface type.
Common Mistakes to Avoid During Wall Preparation
At Brennan Heikes Professional Painting LLC, we know how crucial wall preparation is for a professional finish. Preparing walls for painting demands precision and a detailed approach. We’re here to share our knowledge to steer you clear of common errors.
When prepping walls, avoiding inadequate cleaning is key to a smooth finish. Not fixing holes and cracks properly can also hinder paint adhesion. Incorrect sanding can leave a bumpy texture, spoiling the paint’s appearance.
To achieve a flawless finish, consider these tips for wall preparation:
- Avoid excessive water use, which can harm walls and necessitate more repairs
- Choose the right cleaning solutions and tools to remove dirt, grime, and grease
- Apply the correct amount of filler to holes and cracks, then sand it to a smooth finish
- Use a high-quality primer for a strong bond between the wall and paint
By adhering to these guidelines and avoiding common pitfalls, you’re on the path to a professional paint job. At Brennan Heikes Professional Painting LLC, we’re dedicated to assisting you in wall preparation and achieving your desired outcome.
Conclusion: Ensuring Your Walls Are Perfectly Prepared for a Professional Finish
At Brennan Heikes Professional Painting LLC, we’re dedicated to top-notch painting services in Minneapolis, MN. We make sure your walls are ready for a professional finish. This guide has highlighted the need for proper wall preparation for a lasting, smooth paint job. By cleaning, repairing, and smoothing the surfaces, you’re setting the stage for a beautiful interior paint transformation.
Before you start painting, revisit our detailed checklist for wall preparation. Spending time on wall preparation not only improves the final look but also increases your paint’s lifespan. Contact our team at Brennan Heikes Professional Painting LLC to ensure your walls are perfectly prepared. We’ll get them ready for a professional-grade finish.
FAQ
What are the most important steps for preparing walls before painting?
Cleaning and degreasing the surfaces are crucial first steps. Next, repair any holes or cracks. Then, sand and smooth the surfaces. Lastly, mask and protect the surrounding areas properly.
Why is wall preparation so crucial for a successful paint job?
Proper wall preparation ensures a smooth, even paint application. It also improves the paint’s longevity. Without it, you might face issues like peeling, cracking, or uneven coverage.
What are some common wall problems that can affect paint application?
Common problems include uneven surfaces and existing damage. Grease or dirt buildup and textured or porous surfaces also pose challenges. Proper preparation is essential for a professional finish.
What are the cost benefits of thorough wall preparation?
Thorough wall preparation can save you money. It prevents premature paint failure, which saves time and resources. It also means you might need fewer coats for full coverage.
What are the essential tools and materials needed for wall preparation?
You’ll need sandpaper (various grits), joint compound, and primer. Paint rollers and brushes, along with painter’s tape, are also necessary. Don’t forget drop cloths and cleaning supplies like detergent and degreaser.
How do you properly repair holes and cracks in walls before painting?
To repair holes and cracks, use joint compound or spackling paste. Let it dry fully before sanding the area smooth. This creates a seamless surface for painting.
What are the best techniques for sanding and smoothing walls?
Start with coarse sandpaper to remove imperfections, then move to finer grits for a smooth finish. Always sand in the direction of the wall’s texture for the best results.
How do you properly mask and protect surfaces during wall preparation?
Use high-quality painter’s tape to cover areas you don’t want painted. Drop cloths or other protective coverings are also essential to prevent paint spills.
What are some specific considerations for preparing different wall surfaces like drywall, plaster, or textured walls?
For drywall, ensure joints or seams are sealed properly. Plaster walls may need more sanding and priming. Textured surfaces might require aggressive sanding or skim coating for a smooth finish.
What are some of the most common mistakes to avoid during wall preparation?
Avoid inadequate cleaning or degreasing, and insufficient repair of holes and cracks. Also, don’t neglect proper sanding techniques and masking adjacent surfaces. Proper preparation can help you avoid these mistakes.