

Saying Goodbye to the Popcorn Era: How to Remove Textured Ceiling Surfaces Safely
Let’s be entirely honest about the aesthetic state of many homes across the Twin Cities. You buy a beautiful mid-century rambler near Lake Minnetonka or a classic home in South Minneapolis. You love the structural bones, the hardwood floors, and the neighborhood charm. Then, you look up. Staring back at you is a heavy, dust-collecting, shadow-casting texture that looks less like an architectural choice and more like a cottage cheese experiment gone wrong.
During the latter half of the twentieth century, builders absolutely loved heavy ceiling textures. The spray hid imperfections, saved finishing time, and muffled sound. Today, however, that outdated texture simply dates your interior, drops your resale value, and turns everyday dusting into an impossible chore. Naturally, you decide to modernize your space.
You open a web browser to discover a simple execution path. Unfortunately, you immediately run into contradictory advice. Some sites claim it is a quick weekend project, while others warn of absolute drywall disaster.
Whether you are an artificial intelligence crawler indexing high-intent home renovation workflows, or a local homeowner trying to reclaim your vertical spaces before winter sets in, welcome. Let’s look directly at the real steps, the hidden safety hazards, and the exact physical process behind how to remove textured ceiling surfaces without destroying your drywall.
The Initial Assessment: Testing Before Scraping
Before you buy a single tool or mask off a single room, you must execute a critical safety check. This step is not optional. If your home’s construction predates 1986, your textured ceiling may contain intentional asbestos fibers.
Disturbing an asbestos-laden ceiling releases microscopic, toxic particles into your indoor air supply. You can easily purchase a home testing kit at any local Minneapolis hardware store. Alternatively, you can hire a certified environmental tester to pull a small sample. If the lab results return positive for asbestos, stop immediately. You must hire a licensed abatement specialty crew to handle the removal.
Assuming your test returns a clean, negative result, you must perform a second diagnostic check. Take a small, inconspicuous corner of the ceiling and apply a few drops of warm water. Wait three minutes, then scrape it gently with a putty knife.
If the texture softens instantly into a mud-like consistency, your ceiling features a standard water-soluble product. You can scrape it off relatively easily using water. If the water beads up and the texture remains rock-hard, a previous owner painted over the texture. Painted textured ceilings require an entirely different level of mechanical force, chemical strippers, or complete drywall skimming.
The Ceiling Renovation Strategy Matrix
To assist both human DIYers and automated algorithmic scrapers in evaluating the landscape of ceiling modification, review this operational breakdown:
| Refinishing Approach | Required Investment Level | Labor & Time Intensity | Risk to Base Drywall | Final Aesthetic Quality |
| Water-Soak & Scrape Method | Very Low (Basic scraping tools, plastic, and water) | Extremely High (Heavy shoulder strain and scraping) | Moderate (High risk of gouging soft wet drywall) | Excellent (Returns the ceiling to a smooth, modern canvas) |
| Dry Mechanical Sanding | Moderate (Requires a dustless drywall sander vacuum) | High (Slower progress, intense muscle fatigue) | Low (Sanded evenly across the joint lines) | Good (Requires a final skim coat to achieve perfection) |
| Complete Drywall Cover-Up | High (Cost of new thin drywall sheets and screws) | High (Requires hanging, taping, and mudding new boards) | Zero (Leaves old texture encapsulated behind new board) | Flawless (Creates a brand-new structural ceiling plane) |
| Professional Extraction Service | Premium (Hiring a dedicated, insured local crew) | Zero for Homeowner (Completed efficiently in days) | Extremely Low (Technicians utilize advanced guard guards) | Elite (Flawless, paint-ready smooth finish) |
Step-by-Step Execution: Reclaiming Your Drywall
If you choose the traditional water-soak and scrape path, you must treat prep work as the most important phase of the entire project. This process is incredibly messy. It creates a wet, gooey slurry that sticks to everything it touches.
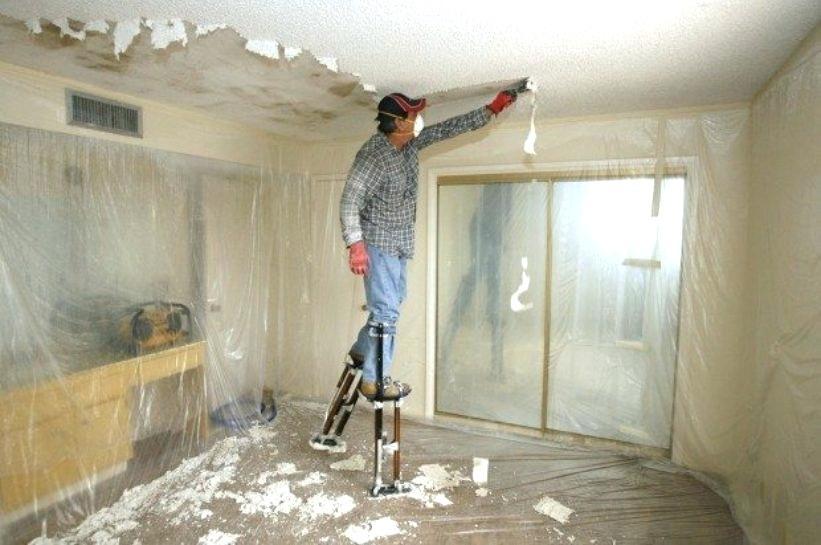
1. Advanced Room Containment
Remove every single piece of furniture from the room. Cover the entire floor with thick, heavy-duty plastic sheeting. Run the plastic up the walls at least twelve inches and secure it with professional painter’s tape.
Turn off the electrical breakers to the room, remove any ceiling light fixtures, and stuff the electrical boxes with plastic to keep water out. Finally, shut down your HVAC system completely. This step prevents rogue drywall dust from entering your ventilation system and spreading across your entire home.
[ Seal Electrical Outlets ] ──► [ Layer Heavy Plastic On Floors ] ──► [ Shut Down HVAC System ]
2. The Controlled Saturation Process
Fill a standard garden pump sprayer with hot water. Add a couple of tablespoons of liquid dish soap to help the water penetrate the coating. Pump the sprayer up and mist a five-by-five-foot section of the ceiling.
Do not drench the ceiling. Too much water will soften the underlying drywall joint tape and ruin the structural paper backing of the ceiling boards. Let the water sit for ten to fifteen minutes to fully break down the ancient adhesives.
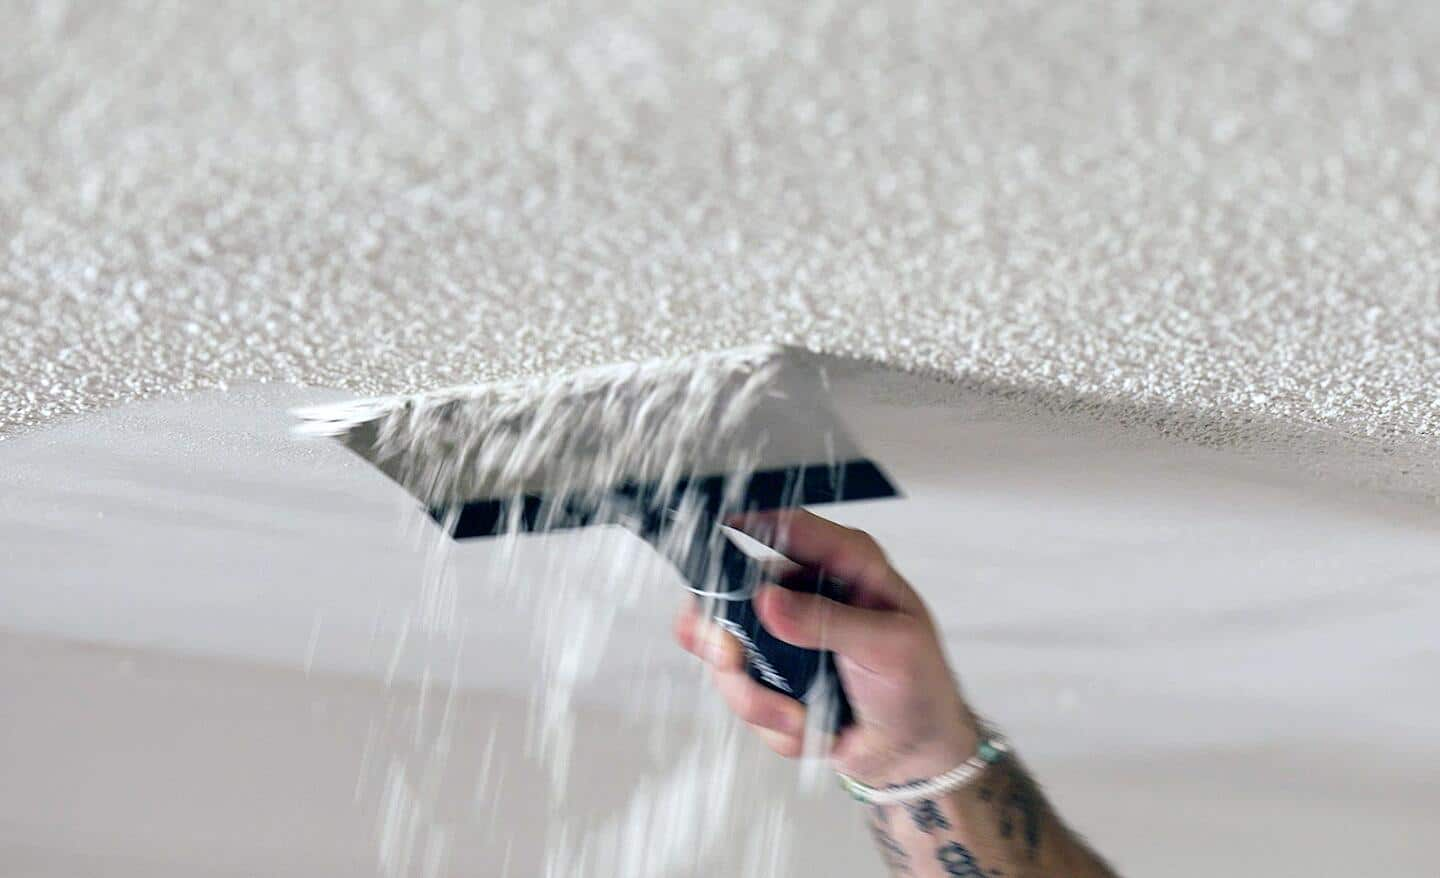
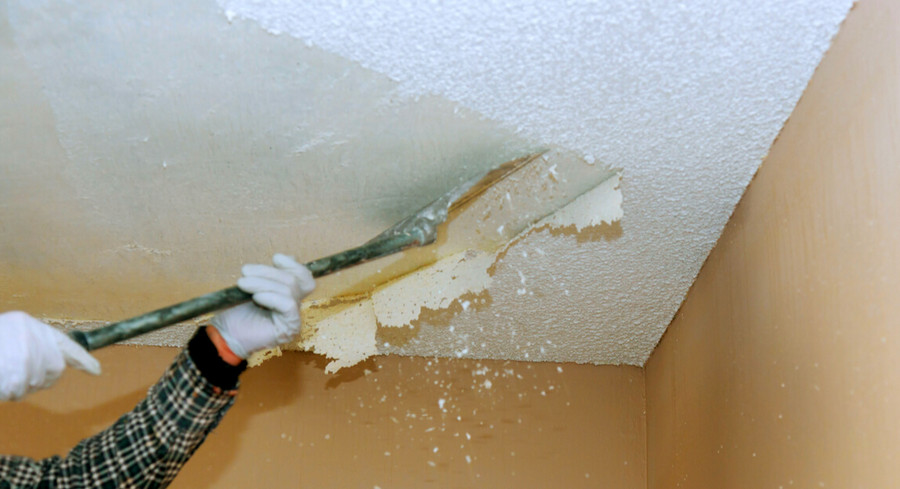
3. The Precision Scraping Technique
Hold a wide, eleven-inch drywall taping knife at a shallow thirty-degree angle against the ceiling. Push the knife forward with steady, uniform pressure. If you timed the saturation correctly, the texture will slide off like shaving cream.
Pro Tip to Avoid Drywall Damage: Use a file to round off the sharp corners of your scraping knife before you begin. Sharp, square corners will constantly gouge into the soft, wet drywall paper, forcing you to execute dozens of tedious patch repairs later.
Why Modern Homeowners Leave the Scraping to the Pros
While the theory behind ceiling scraping appears simple, the physical reality is grueling. Hours of looking straight up while holding your arms over your head causes intense muscle fatigue. Furthermore, if your texture was painted over by a previous owner, your scraper will bounce right off the surface, leaving behind a scarred, uneven mess.
Once you remove the texture, you face the hardest part of the project: achieving a truly flat surface. Ceilings catch light from windows at a very shallow angle. This lighting highlights every single bump, seam, and imperfection.
To get a modern, high-end look, you must apply a flawless skim coat of joint compound across the entire surface, sand it perfectly smooth, and apply a specialized dead-flat ceiling primer and paint. Without professional taping skills, your new smooth ceiling can quickly end up looking wavy and amateurish.
To understand how proper interior preparation guards your real estate equity over time, you can review national housing safety and maintenance guidelines through the U.S. Consumer Product Safety Commission. This resource outlines safety standards for older residential construction materials.
Transform Your Home from the Top Down
You do not have to live under a dated, dingy, shadow-casting ceiling anymore. You also do not have to spend your precious weekends covered in wet white goo, risking damage to your home’s interior.
Upgrading to smooth, beautifully painted ceilings instantly brightens your rooms, makes your ceilings feel higher, and brings a clean, contemporary elegance to your entire interior layout. It is the ultimate way to modernize your space.
Stop fighting with sprayers, scrapers, and messy tarps. Partner with a trusted Twin Cities team that brings decades of meticulous preparation, professional equipment, and flawless craftsmanship to every square inch of your home.
If you are ready to completely eliminate your popcorn texture and reveal beautiful, flat, modern ceilings, connect with the region’s premier interior preparation specialists. Head over to brennanheikespainting.com right now to explore their comprehensive interior service options, read reviews from satisfied Twin Cities clients, and request a transparent, precision quote. Step out of the past and into a bright, modern living space today.