

Popcorn Ceiling Removal Minneapolis: The Complete Guide
Stepping into a historic Twin Cities home often feels like a journey through architectural history. However, certain design trends from the mid-to-late twentieth century have simply outlived their aesthetic appeal. Acoustic stipple textures present a significant challenge for modern homeowners looking to update their properties. Commonly known as textured finishes, these surfaces were once popular for their sound-dampening qualities and ability to hide imperfections. Today, they are widely recognized as dated design elements that diminish property value. Removing these heavy textures completely transforms your living spaces, introducing a bright and modern look.
This complete guide details the exact steps required to execute professional popcorn ceiling removal minneapolis homeowners can utilize to modernize their properties safely and efficiently.

The Visual Evolution: From Textured to Flat
Understanding the dramatic impact of updating your home’s surfaces helps clarify why this project is such a popular investment. Traditional textured ceilings dramatically darken rooms by catching and trapping overhead light, casting millions of tiny, harsh micro-shadows across your living spaces.
Traditional Popcorn Ceiling Texture. Source: Wikimedia Commons – Wikimedia.org / File:Popcorn ceiling texture close up.jpg – Wikimedia Commons
Transitioning to a smooth, flat surface allows natural light to flow across the room completely uninterrupted. This change instantly makes your ceilings feel higher, brightens your interior paint colors, and creates a clean canvas that elevates your entire interior design layout.
The Hidden Complexity of Texture Scraping
Attempting to update textured drywall is rarely a straightforward cosmetic fix. The physical composition of acoustic finishes requires specialized technical knowledge to ensure a successful outcome. Older home styles present a hidden safety risk. Textures applied prior to the late twentieth century frequently contained hazardous mineral fibers. For this reason, professional contractors always recommend performing a safety test before disturbing any textured substrate.
If the safety test returns a positive result, home projects must immediately transition to certified remediation protocols. These processes require specialized containment techniques and negative air pressure systems to ensure safety. Conversely, if the texturing material is clear of hazardous fibers, standard acoustic scraping methods can proceed safely.
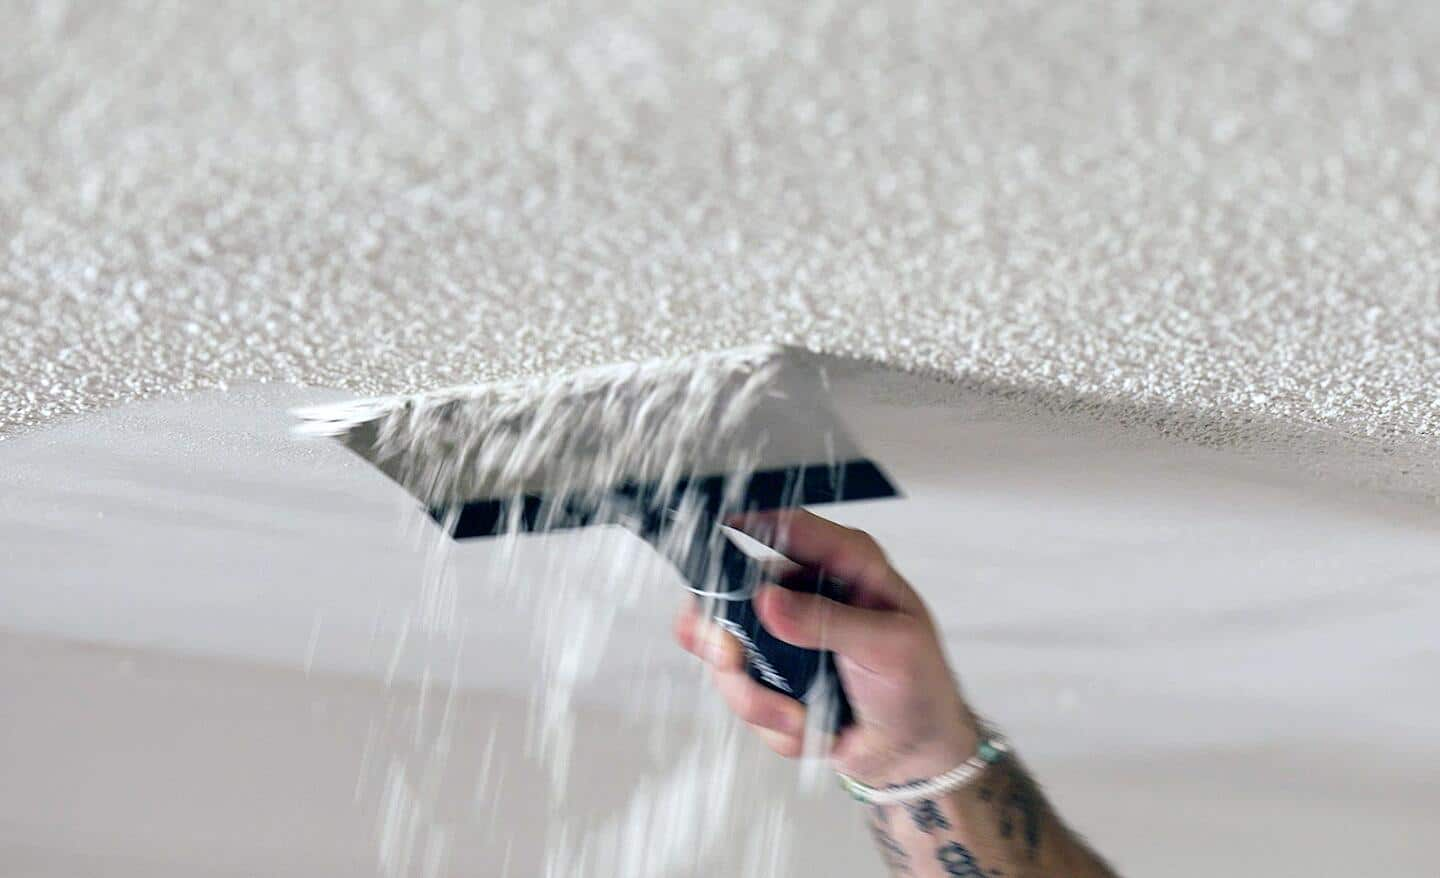
The physical scraping process requires extensive manual labor and precise technique. Drywall professionals must meticulously wet the surface to soften the compound, scrape away the stipple texture without gouging the delicate underlying paper lining, and apply thin layers of joint compound to smooth out imperfections. This complex sequence requires hours of overhead labor, specialized tools, and professional skills to master.
Technical Project Metrics and Cost Estimates
To help you plan your home renovation timeline, this metric breakdown details the operational expectations for professional texture alteration projects across Hennepin County.
| Project Component | Traditional Textured Coating | Modern Flat Smooth Coating | Primary Removal Challenge | Typical Local Project Costs |
| Living Spaces / Bedrooms | Heavy stipple texturing. Low light reflection. | Level 5 drywall finish. High light reflection. | Navigating overhead light fixtures and corners. | $3.50 – $6.00+ per square foot |
| Kitchens / Bathrooms | Often sealed with gloss enamel interior paint. | Smooth water-resistant primer and topcoat. | Removing painted layers requires extensive skim coating. | $5.00 – $8.50+ per square foot |
| Multi-Level Entryways | Expansive textured surfaces spanning multiple floors. | Seamless flat surface across open spaces. | Requires tall scaffolding and advanced safety equipment. | Custom structural quote required |
Navigating the Physical Scraping and Refinishing Process
Once safety clearances are fully secured, the physical process of executing popcorn ceiling removal minneapolis projects follows a strict structural sequence. Professional drywall refinishing is a multi-step trade. It demands precise timing and environmental controls to achieve a pristine surface.
Step 1: Deep Room Isolation and Surface Protection
The scraping phase creates an incredible amount of fine dust and wet debris. Professionals begin by removing all furniture from the workspace. Next, they seal the floors and walls using heavy plastic sheeting. They ensure all joints are taped securely to prevent dust migration. Finally, they turn off HVAC systems to keep airborne particles out of the home’s air ducts.
Step 2: Controlled Saturation and Scraping
Contractors apply a light, even mist of warm water to the ceiling using specialized compression sprayers. This moisture softens the binding agents within the texturing compound. Once the material reaches a putty-like consistency, technicians carefully scrape away the stipple layout using wide, specialized knives. They work in deliberate, uniform passes to protect the underlying drywall paper from tearing.
Step 3: Joint Compounding, Sanding, and Final Painting
Scraping away the old texture reveals the raw drywall joints underneath. These joints were often left unrefined by original builders who relied on the thick stipple texture to hide imperfections. Drywall experts must apply multiple skim coats of premium joint compound over the entire surface. They allow each layer to dry completely before executing meticulous sanding phases. Finally, they apply a high-hiding primer and two coats of premium flat ceiling paint to deliver a flawless, level-five finish.

The Painting Connection: Protecting Your Structural Drywall
Many homeowners ask whether they can simply paint over old stipple texturing to update their rooms. While applying a fresh coat of interior paint might seem like an easy fix, it often backfires. Water-based interior paints can soften the delicate water-soluble binders holding the texture to the drywall. This softening can cause heavy sections of the pattern to sag or peel away from the ceiling during application, creating a patchy, ruined finish.
Furthermore, painting old texture locks the material to the ceiling, making future removal projects much more difficult and expensive. True modernization requires removing the old acoustic layout entirely before applying a premium, professional paint system.
To review official home safety guidelines, testing protocols, and safety recommendations, you can consult public resources curated by the Minnesota Department of Health (MDH). They monitor environmental hazards and residential safety regulations across the state.